Spraying Digital Graffiti
Background
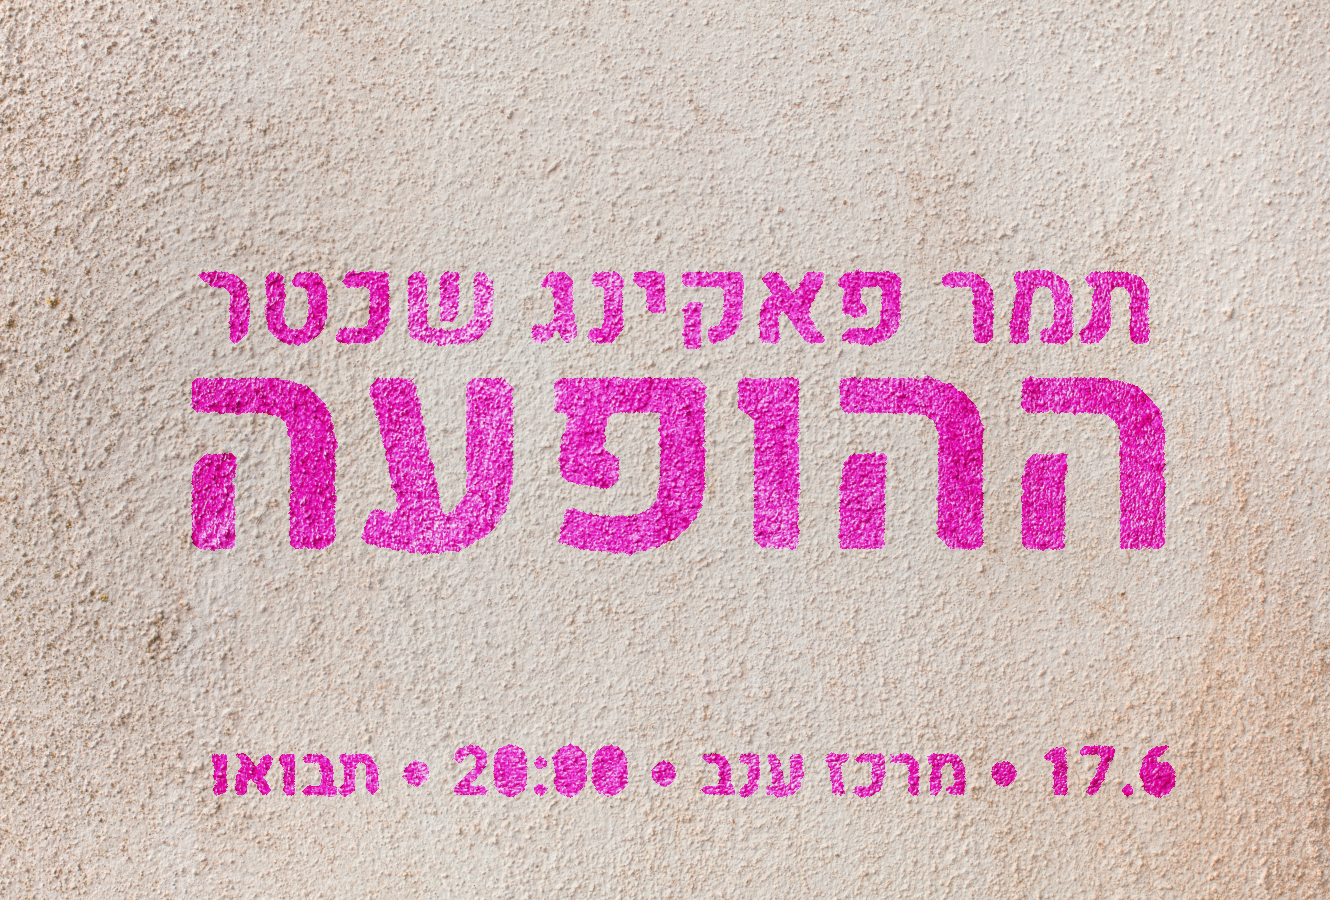
My partner has an upcoming show she’s promoting. She has a couple of nice pictures with colored walls, and I thought it could be cool to spray “digital graffiti” on the walls with info about the show. My options were:
- Plaster semi-transparent text on the wall, which would look cheap and lousy
- Fiddle with some gen AI, but where’s the sport in that
- Spend half a day to figure out how to do that computationally
Since we’re here, we all know which option I chose!
Let’s get rolling
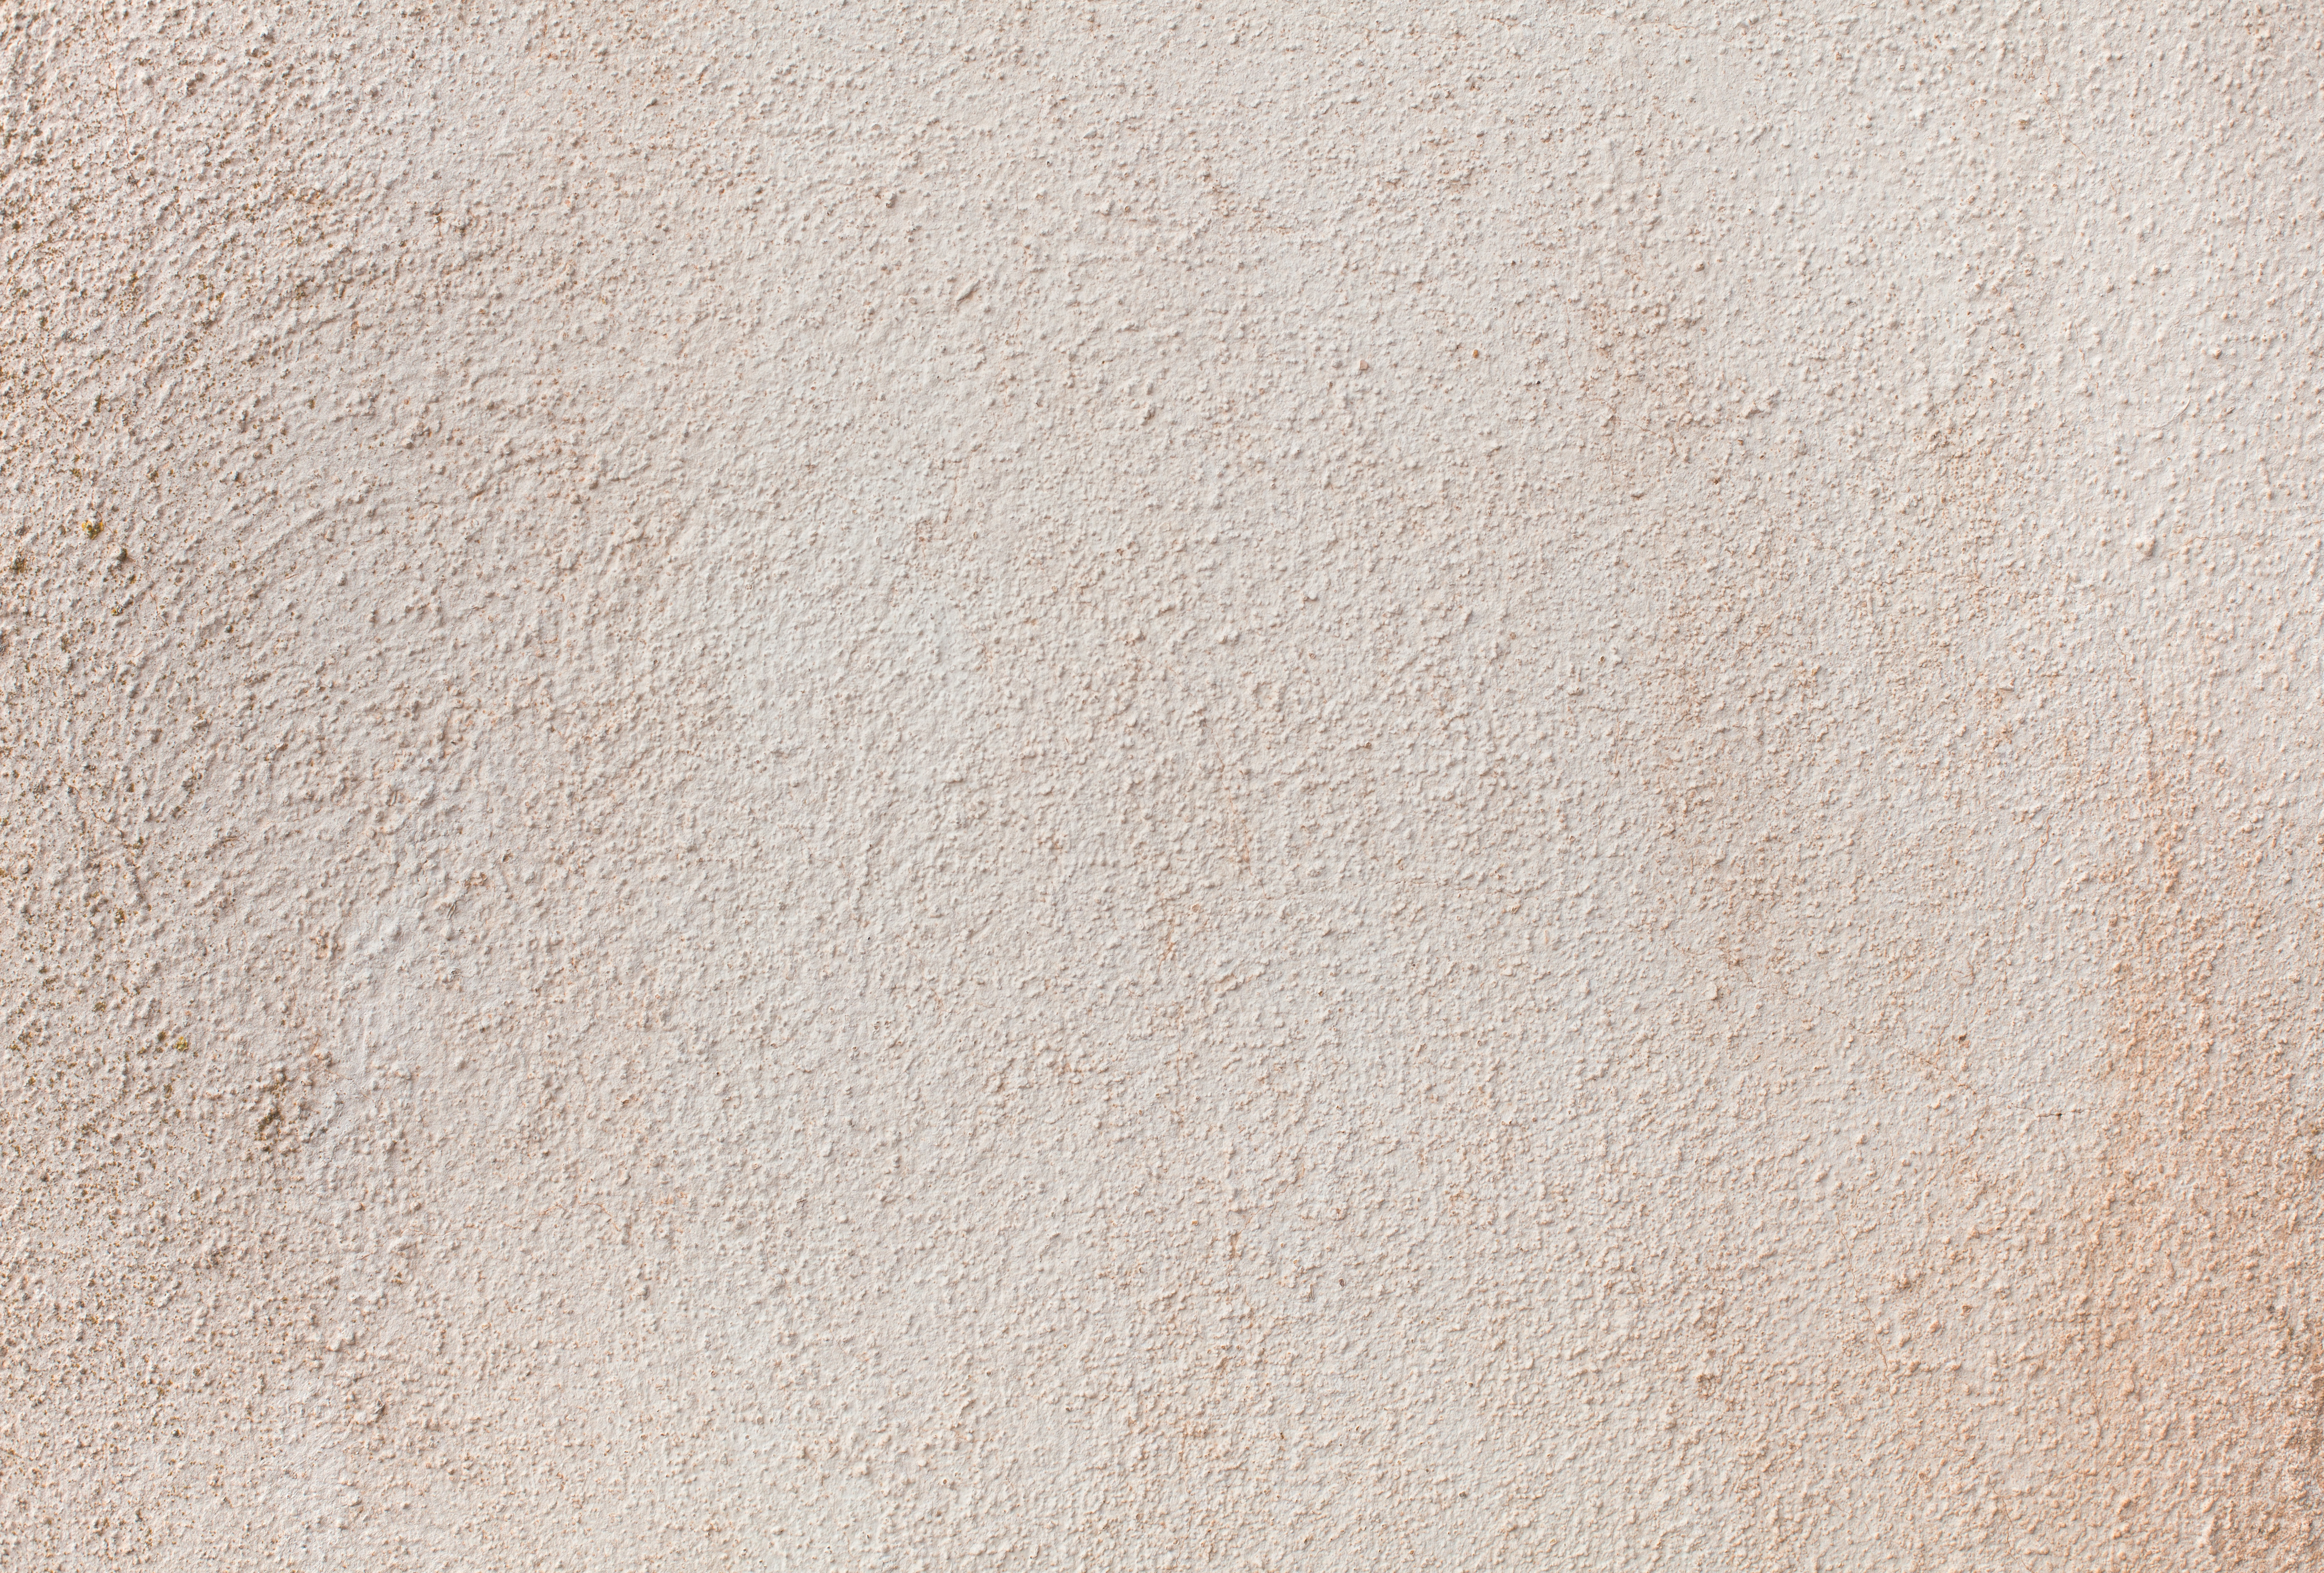
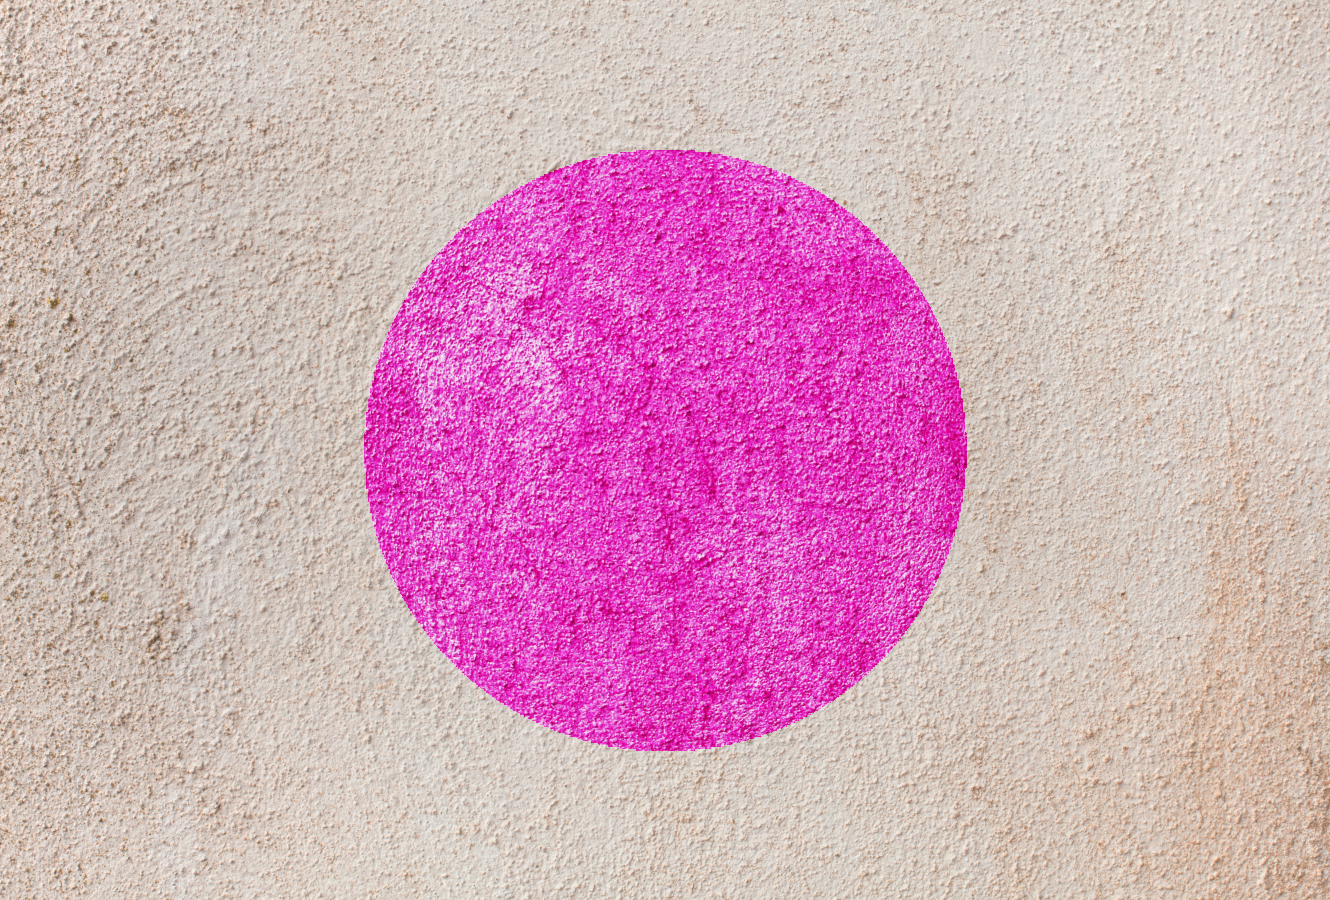
Say we have this nice picture of a textured wall (Image by kues1 on Freepik):
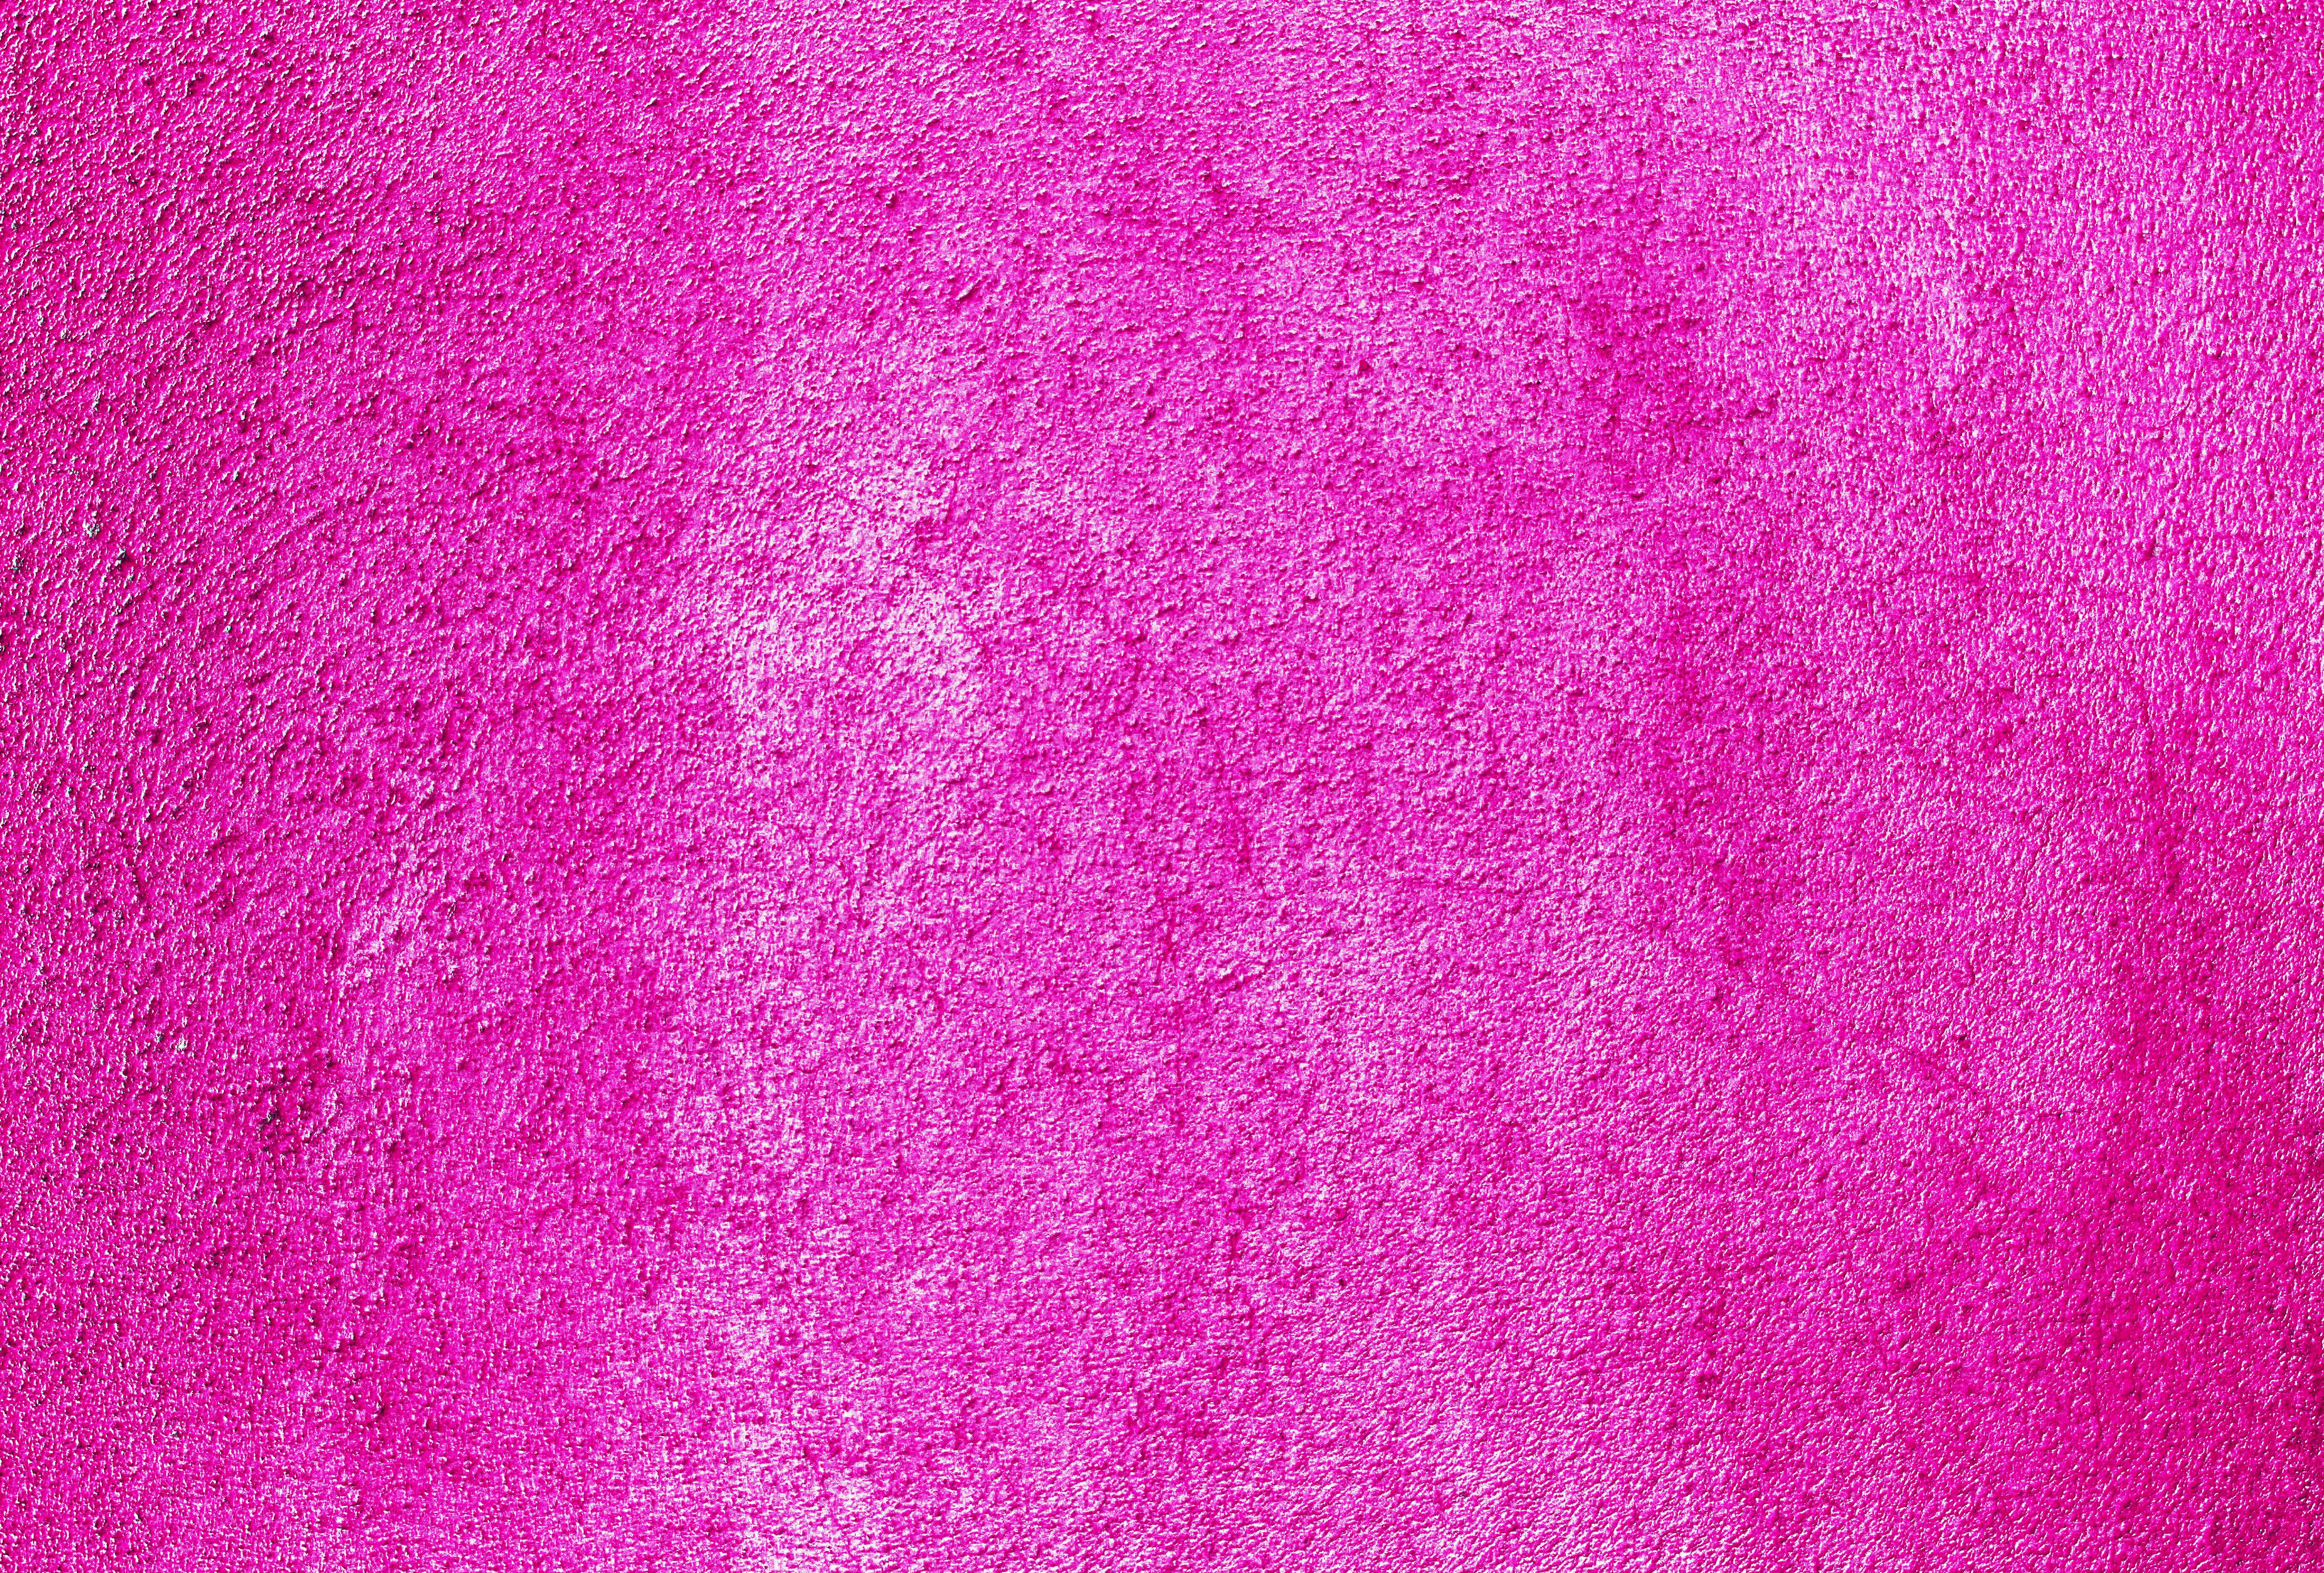
First, using image color replacement from a while back, we
can paint the wall pink, which already looks neat:
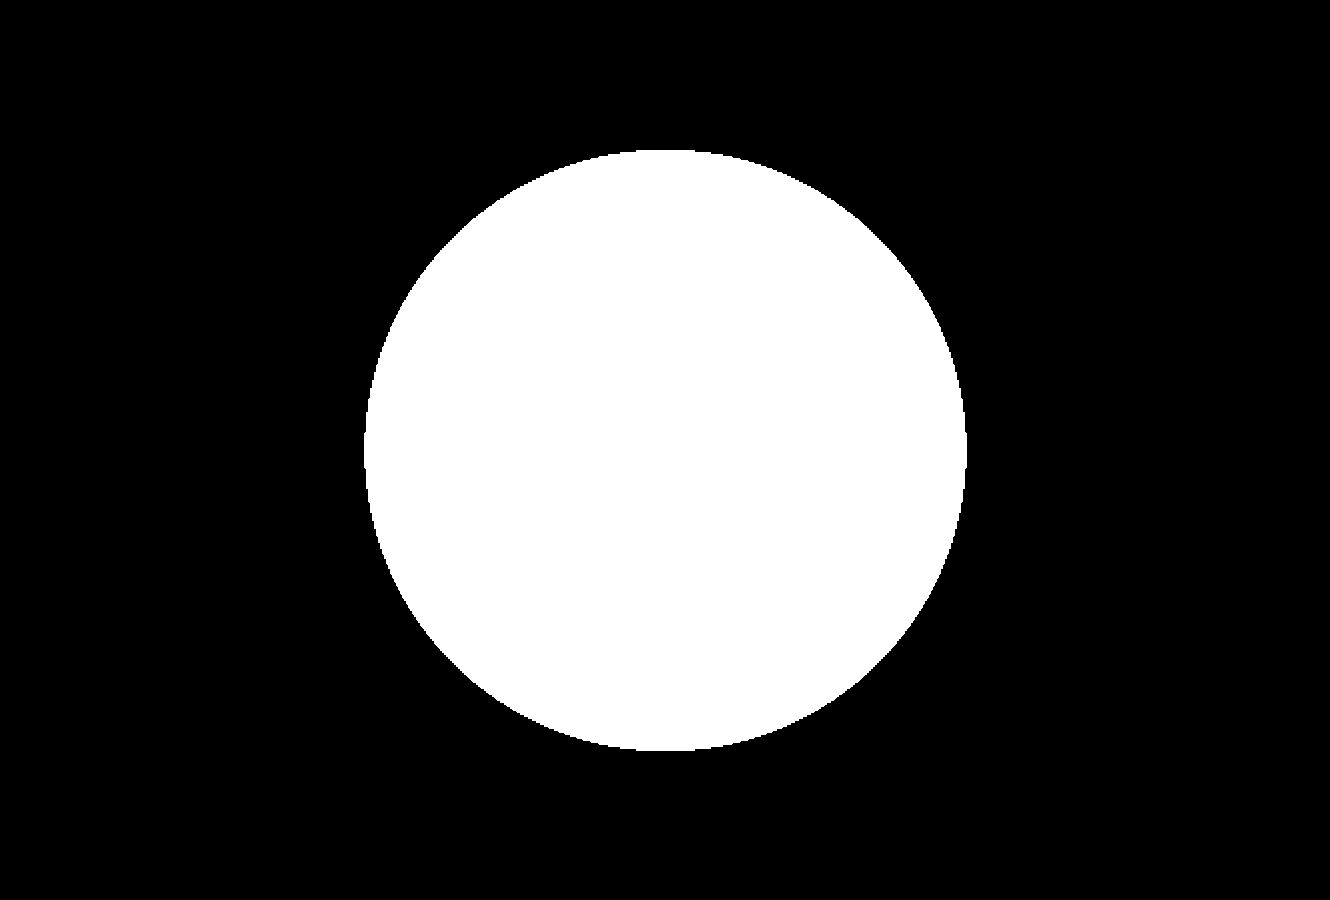
Now, suppose we also have a binary mask depicting the graffiti we’d like to spray:
We can use the mask to mix between the two wall images (original and painted):
That looks pretty nice, but the mask boundary is too smooth and detached from the texture. Real paint would behave slightly differently based on the bumps in the cement. How do we modify the boundary?
Pathfinding to the rescue
We want to modify the mask’s contour, such that it follows the original contour pretty closely, but also tries to avoid crossing “high-energy” areas of the image. We can use edge detection to define these high-energy areas.
Defining the path
To define the path, we sample the contour uniformly, but then wiggle the indices a bit to start from low-energy areas of the image.
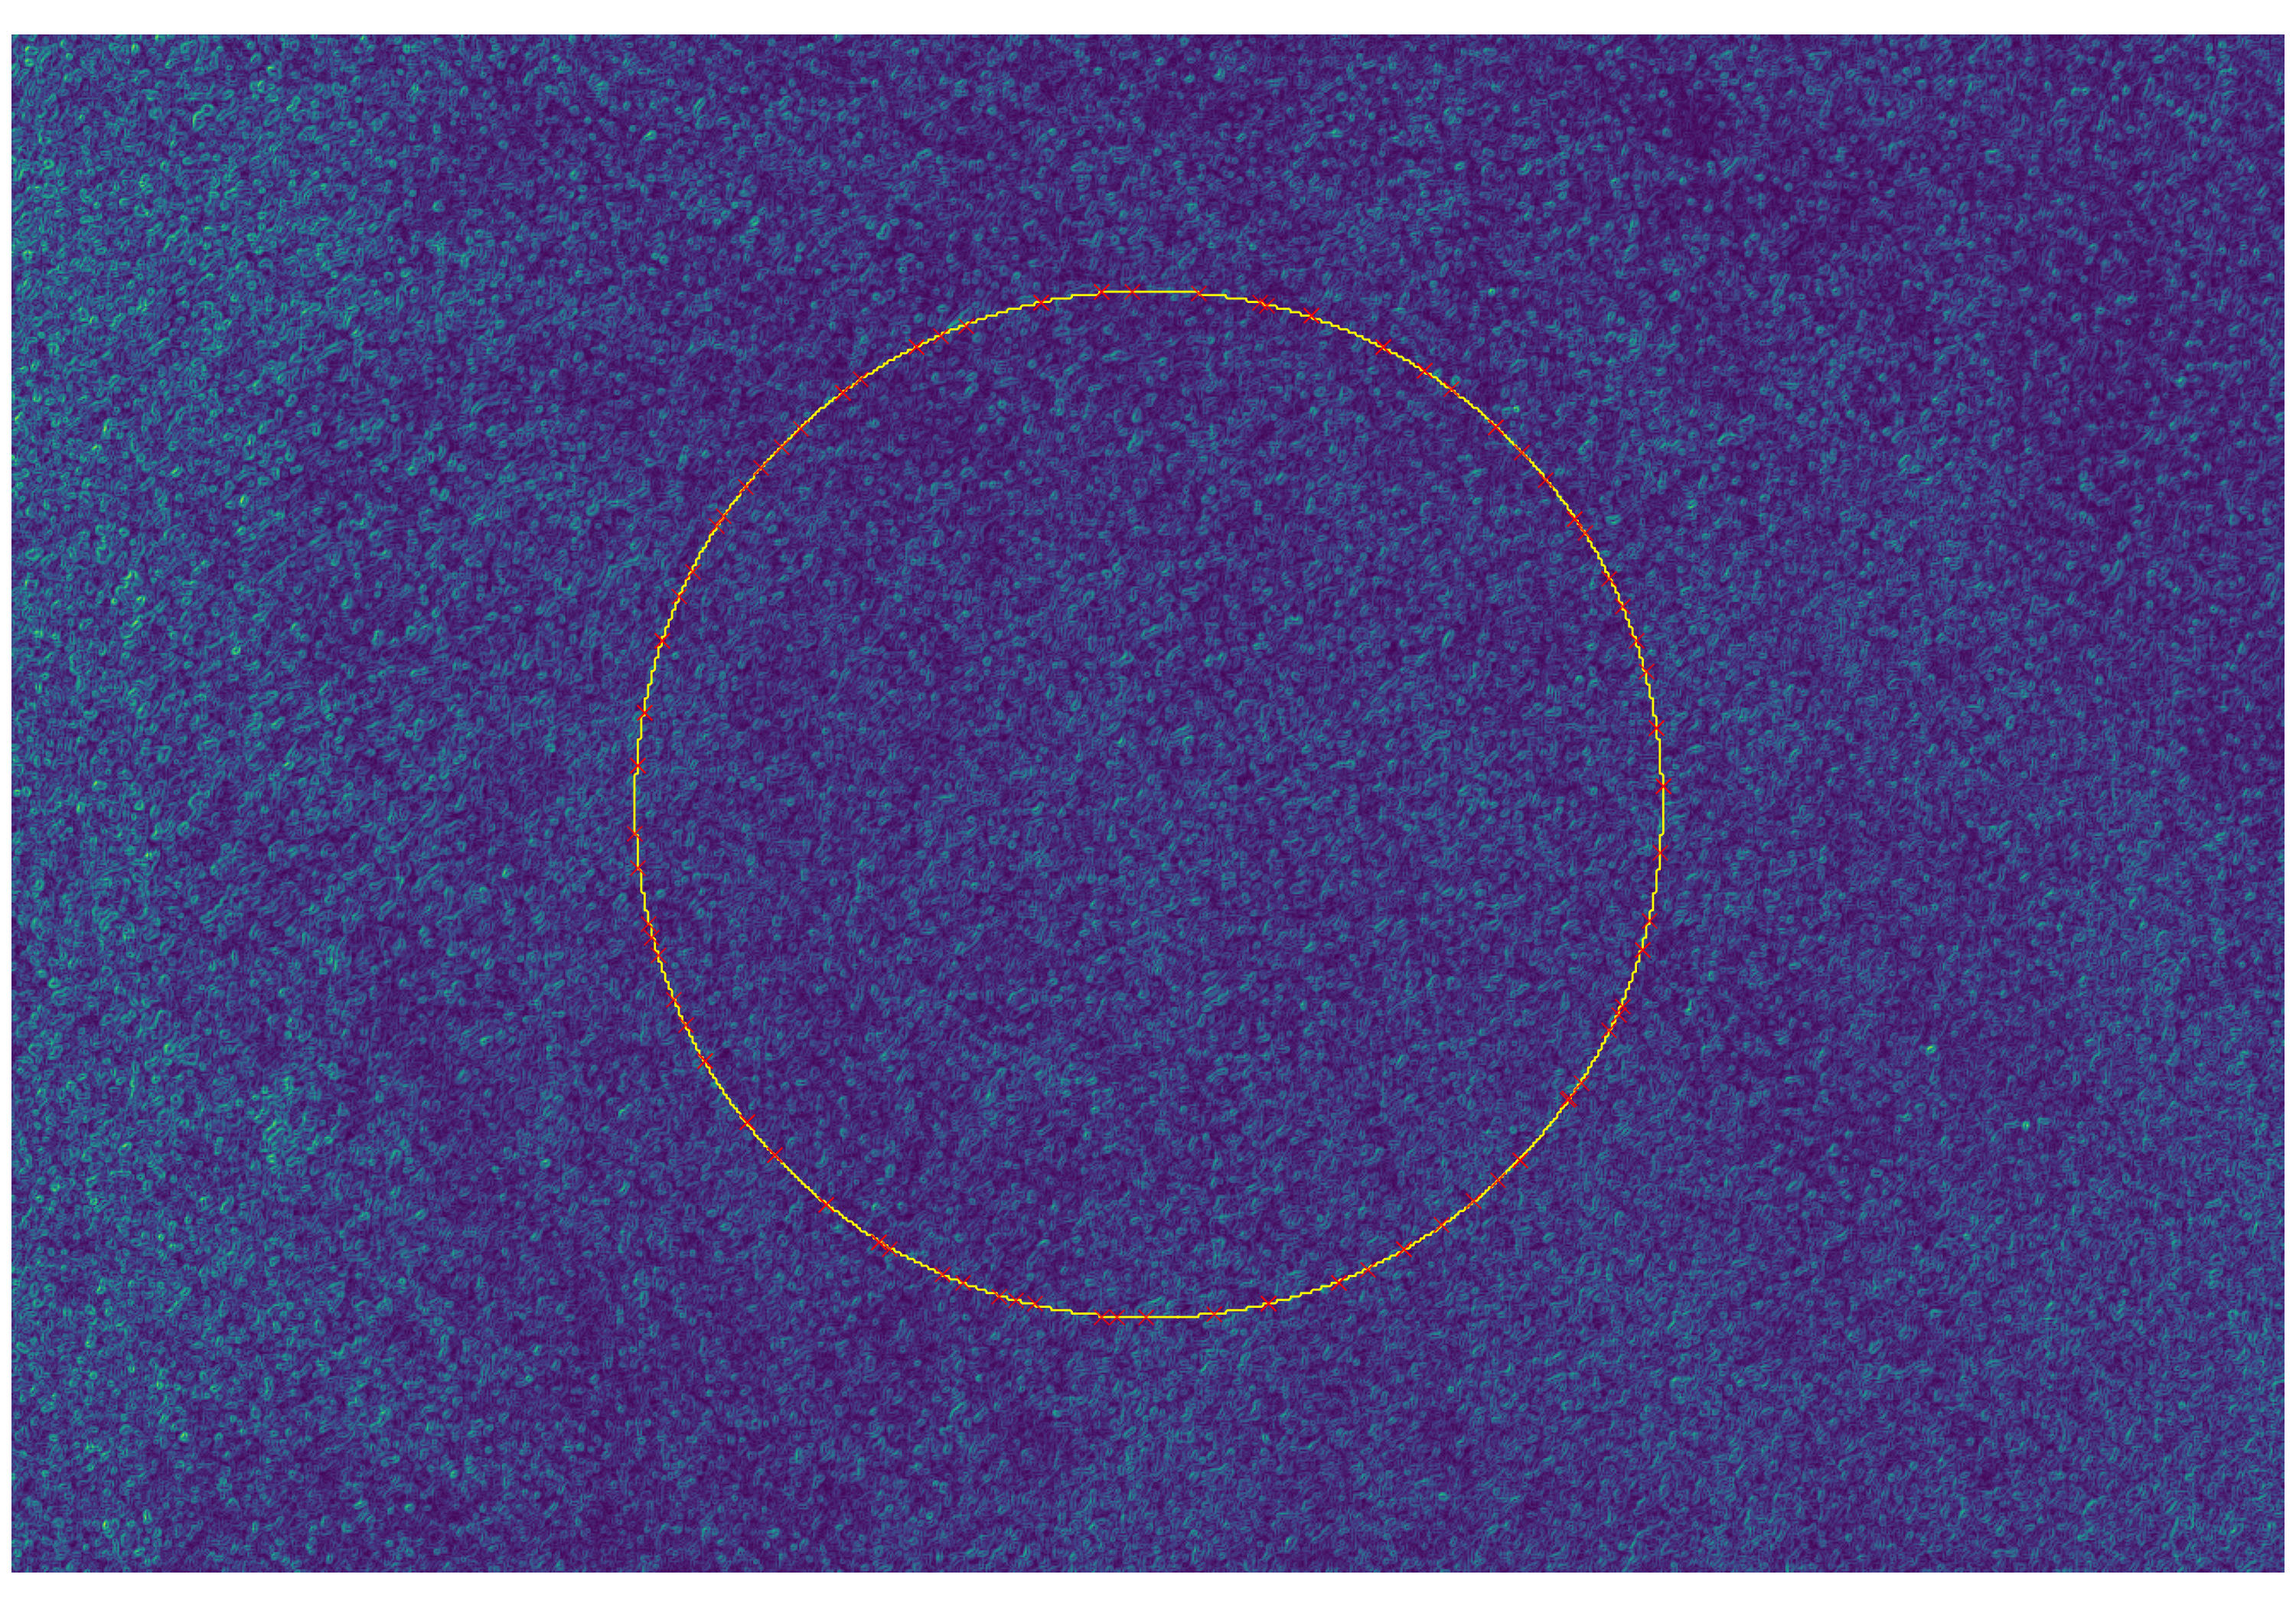
Next we stitch the new contour as a series of paths using skimage’s graph.route_through_array,
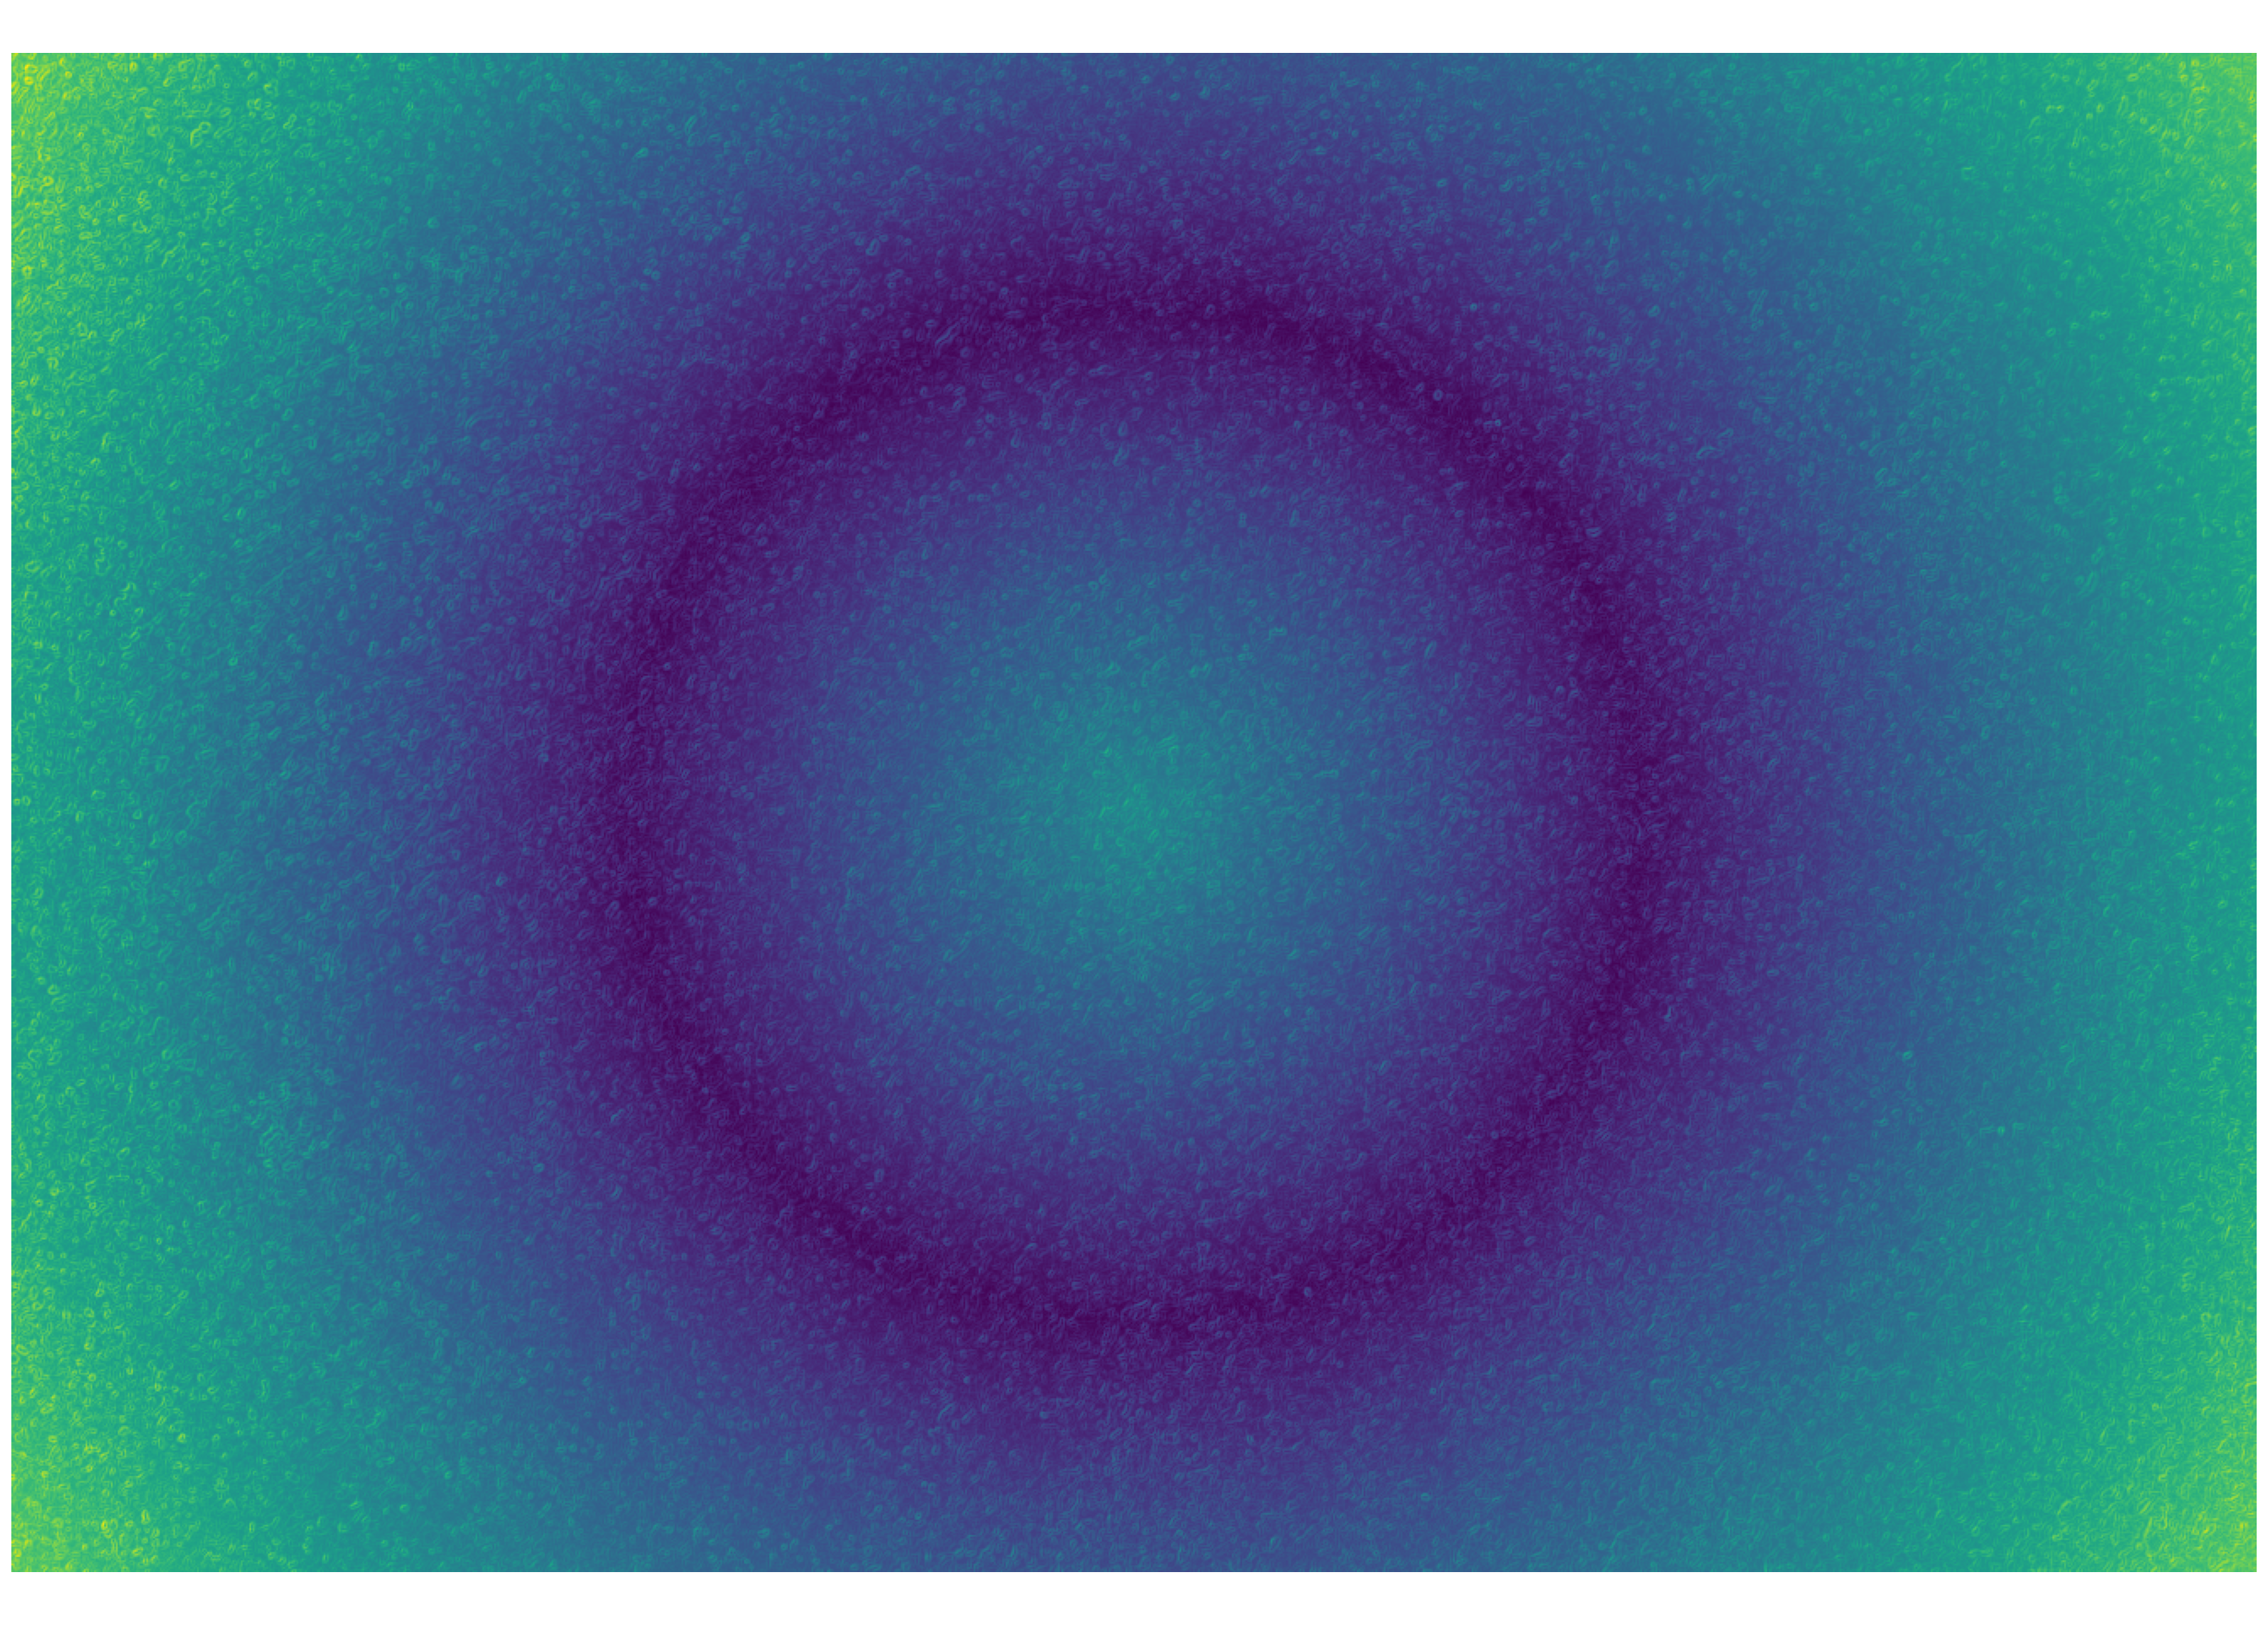
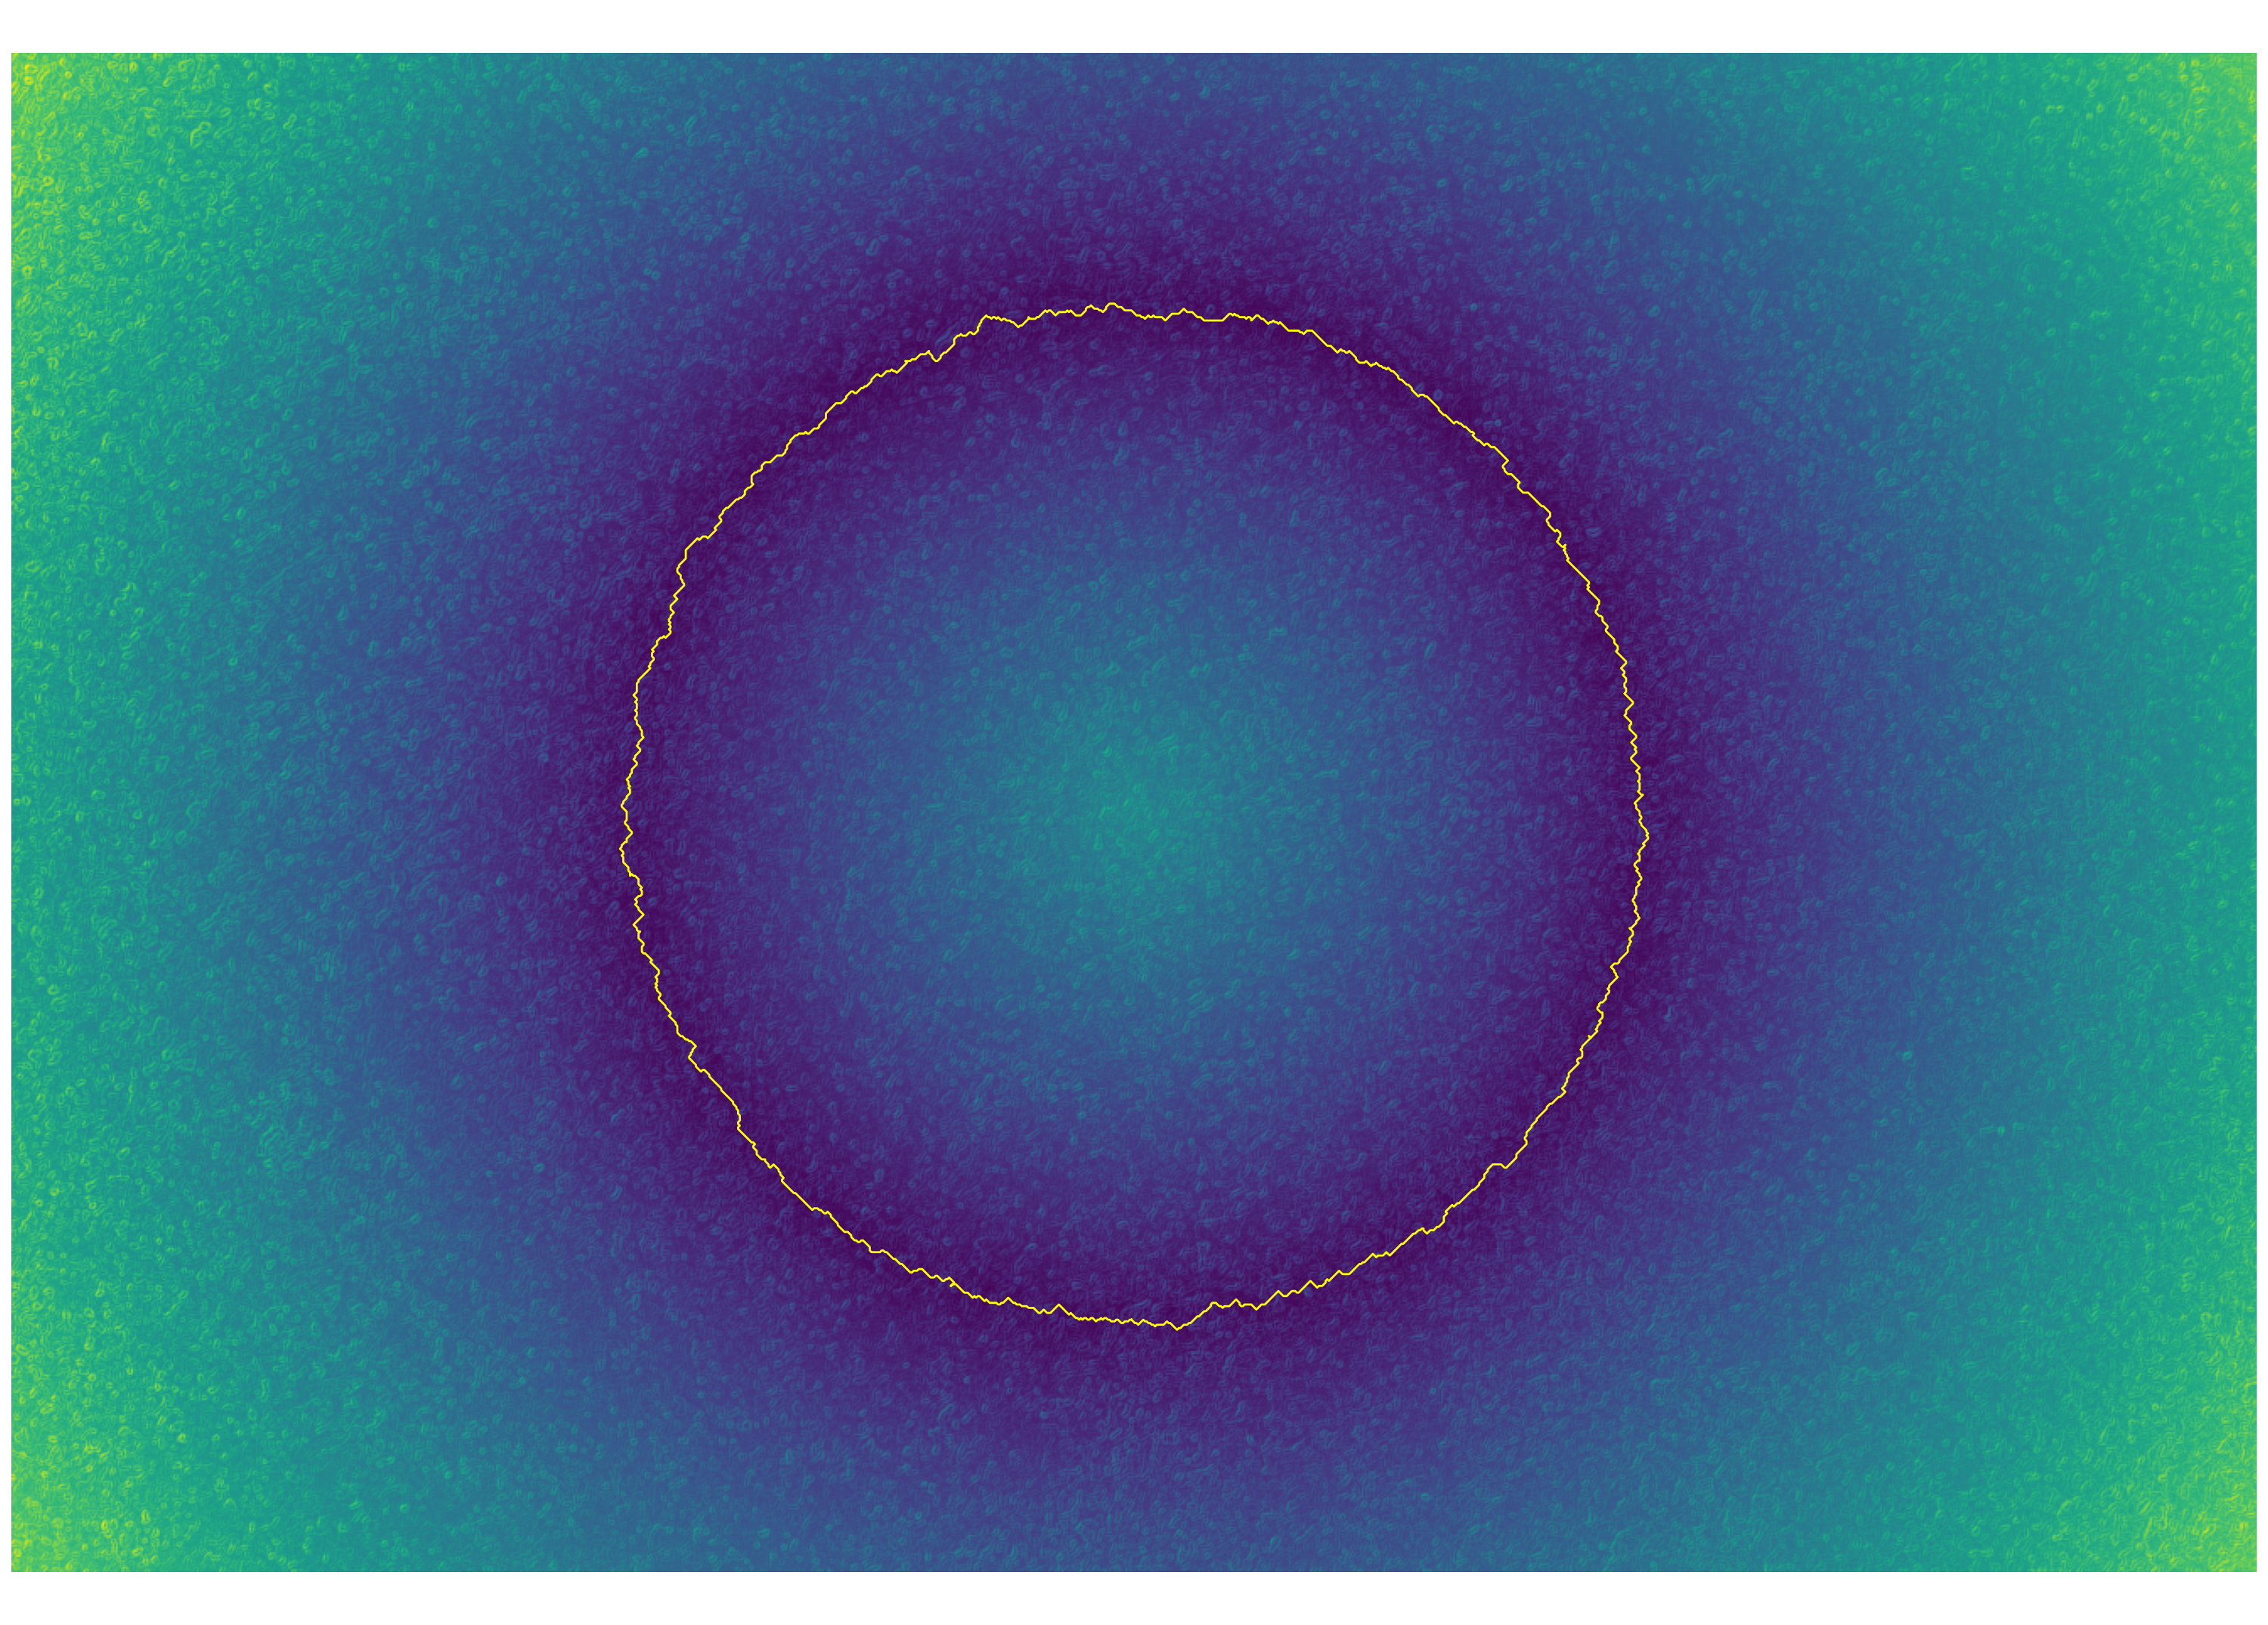
which finds the minimum-cost-path through a cost landscape. To define the cost landscape, we compose the edge map with the distsance transform of the original contour.
We can vary the weighing between the distance transform and the edge map to balance how strictly we want the new contour to adhere to the original one.
Here’s an example cost landscape:
Here’s the minimal cost path in this case:
Finally, after we obtain the new contour, we can use it to define a new mask and mix the images:

The effect is subtle but, in my opinion, makes the result a lot more realistic.
Gimme the code
- Image color replacement is here
- Rest of the process described is here. This code is specifically tailored to what I wanted, but it shouldn’t be hard to make it more general